Masking
Masking is a great tool when creating images in PhotoShop. It can be used for non-permanent erasing, or for more flexible shapes and textures.
Masks can be as complex as they can be simple. The most basic mask can be applied to photos.
Open a photo in PhotoShop. In the layers palette, select your background layer and apply a mask to it (the button is at the bottom of the palette, and looks like a square with a round hole). To create the mask, be sure you have the mask selected (it is a square beside the thumbnail of the photo in the layers palette). With your eraser or brush, paint (or erase) white or black. (Eraser: black is add, white is erase; Brush: reverse).
At any time you can delete the mask and the photo will be untouched. Just be sure when you are erasing or using the brush tool that you are certain you are on the mask.
For more complex masking, use set folders. Create a folder in the layers palette with several layers. Select the folder and apply a mask.
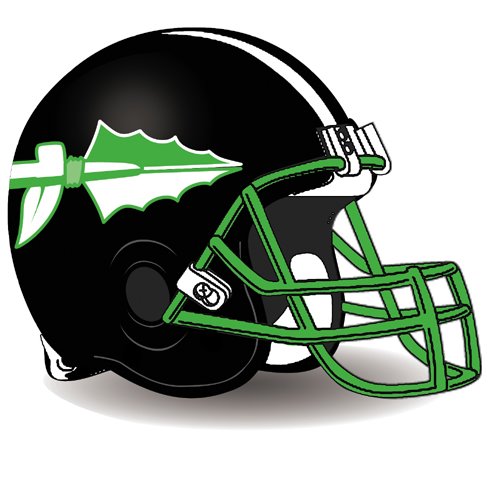
For the example given above, I created the helmet logo as several different vector shapes, then put the different layers into a set folder. I then created a selection of the helmet (ctrl click or apple click), clicked on the folder and then hit the mask tool.
As you can see, there are many variations you can use for almost any application. When saving images, be sure to save a layered copy in case you want to make changes later.
posted by Jess at 6:01 PM
0 comments
![]()
![]()
